One of my favorite summer treats: No Churn Ice Cream! This No Churn Raspberry Cheesecake Ice Cream is so easy and so simple to make, and it tastes amazing! You NEED this dreamy ice cream in your life.
What is No Churn Ice Cream?
It means ice cream that can be made without an ice cream maker! Yes, you heard that right… No ice cream maker? No problem! All you need is a hand mixer and a few simple ingredients
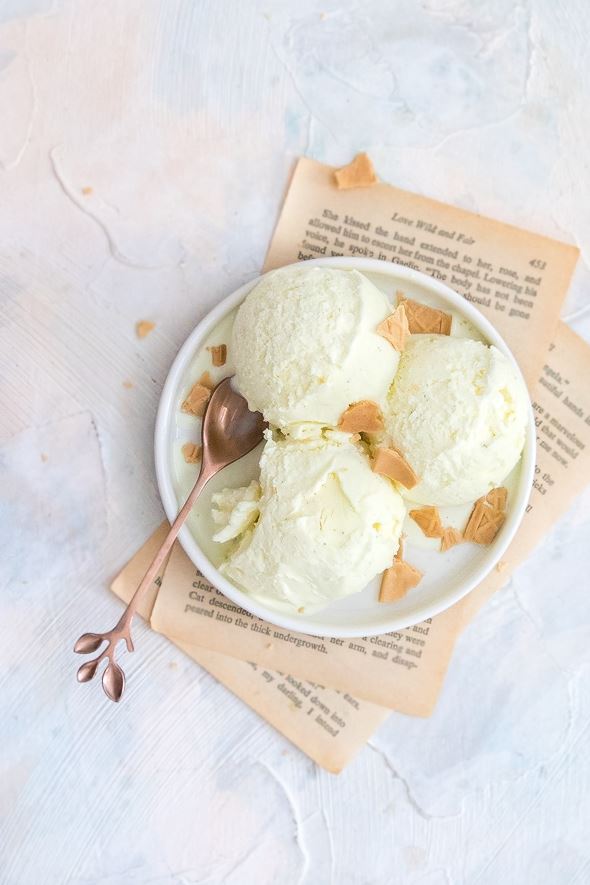
This kind of ice cream may not be as creamy as churned ice cream, but I think it’s pretty good, and this recipe turns out just as rich, and creamy, as a store-bought ice cream
What’s So Special About This No Churn Raspberry Cheesecake Ice Cream?
- Easy to make! It’s quick and simple
- You don’t need an ice cream machine! You can make this with a hand mixer.
- I promise it’s not too sweet!
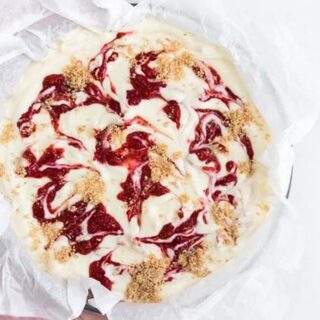
- So many good flavors and textures. Smooth creamy ice cream swirled with raspberry sauce and graham cracker crumbs, so delicious.
- This easy ice cream will impress anyone who tries it!
Tips to Make this No-Churn Ice Cream
- Whipping cream works so much better when it’s cold. I usually put my mixer bowl and whisk attachment in the fridge 20 minutes before I start. This will help the cream thicken faster. Beat the heavy cream until it’s light and fluffy and stiff peaks form
- There’s no substitute for the heavy whipping cream. No half and half, no low-fat cream, ok!
- You can adjust your raspberry sauce to your taste. It’s ok to reduce the sugar or add more fresh lemon zest.
- Let your raspberry sauce cool completely before swirling it into your ice cream mixture.

Ingredients Needed
- Heavy Whipping Cream
- Sweetened Condensed Milk
- Cream Cheese
- Vanilla Extract
- Raspberry Sauce
- Graham Cracker Crumbs
How to Store and Serve?
Be sure to store the finished ice cream in the freezer wrapped with plastic or with an airtight container. When you’re ready to serve, give it a bit of time to thaw to make it much easier to scoop out. I usually take it out for about 15 minutes, or 10 minutes if the weather is warm.
How Long Does Home-made Ice Cream Last?
If it is stored in a tightly sealed container, or wrap it tightly with plastic wrap, this ice cream will keep for months.


No Churn Raspberry Cheesecake Ice Cream
One of my favorite summer treat: No Churn Ice Cream! This No Churn Raspberry Cheesecake Ice Cream is so easy and so simple to make, and it tastes amazing! You NEED this dreamy ice cream in your life.
Ingredients
Raspberry Sauce
- 130g (about 1 cup) fresh raspberry
- 1+1/2 tbsp granulated sugar
- 2 tsp corn starch
- 1 tbsp fresh lemon juice
- 1 tsp lemon zest, optional
Crumbs
- 40g (about 1/3 cup) graham cracker crumbs
- 1 tbsp unsalted butter, melted
- ½ tbsp granulated sugar
Ice Cream
- 480g (2cups) heavy whipping cream, cold
- 395g (14oz, 1 can) condensed milk
- 170g (6oz) original cream cheese, room temperature
- 1 tsp vanilla extract
Instructions
To Make the Raspberry Sauce:
Combine all the ingredients in a small saucepan and cook over medium heat until the fruit breaks down and thickens. Put it in a clean bowl and let it cool to room temperature.
.
To Make the Crumbs:
Using a fork, combine graham cracker crumbs and granulated sugar together. Add the melted butter and mix until well combined. Set aside.
.
To Make the Ice Cream:
Using a hand mixer or a stand mixer whip up the cold heavy cream on medium-high speed until the cream holds stiff peaks, then set aside.
In another bowl, beat the sweetened condensed milk, vanilla extract and softened cream cheese until well combined.
Transfer roughly half of the whipped cream into the condensed milk and cream cheese mixture, and use a spatula to gently fold them together. Then pour the remaining whipped cream into the mixture and fold them until well combined.
Now we assemble. I use an 8-inch round baking dish lined with parchment paper, or you can use a loaf pan or freezer-safe container.
Pour ¼ of the ice cream mixture, swirl ¼ of the raspberry sauce, and sprinkle the crumble. Repeat 3 more times. Cover tightly and freeze for at least 5 hours before serving.
♥ ♥ ♥
If you try this recipe, I’d love to hear what you think! Send me a message or write a comment below.
Also be sure to snap a picture and tag me on your social media posts with #thejobaker
Happy Baking!


Leave a Reply