Thick, fudgy, chewy, and irresistible! These cookie butter (biscoff) blondies are easy to make and ready to devour in under 1 hour. I’m telling you these are the best blondies!
This recipe was originally published on May 28, 2024.
If you love lotus biscoff spread, you’ll also love these cookie butter (biscoff) blondies! If you love lotus biscoff spread, you’ll also love these cookie butter (biscoff) blondies! The biscoff spread is mixed throughout the batter and mixed with chocolate chunks and then, topped with chocolate pieces and biscoff cookies for an extra crunch on top! They’re thick, chewy, crunchy on the edges and top, and perfectly sweet! I promise they’re not overly sweet! Go whip up this cookie butter blondies recipe and all your sweet treat cravings will be satisfied.
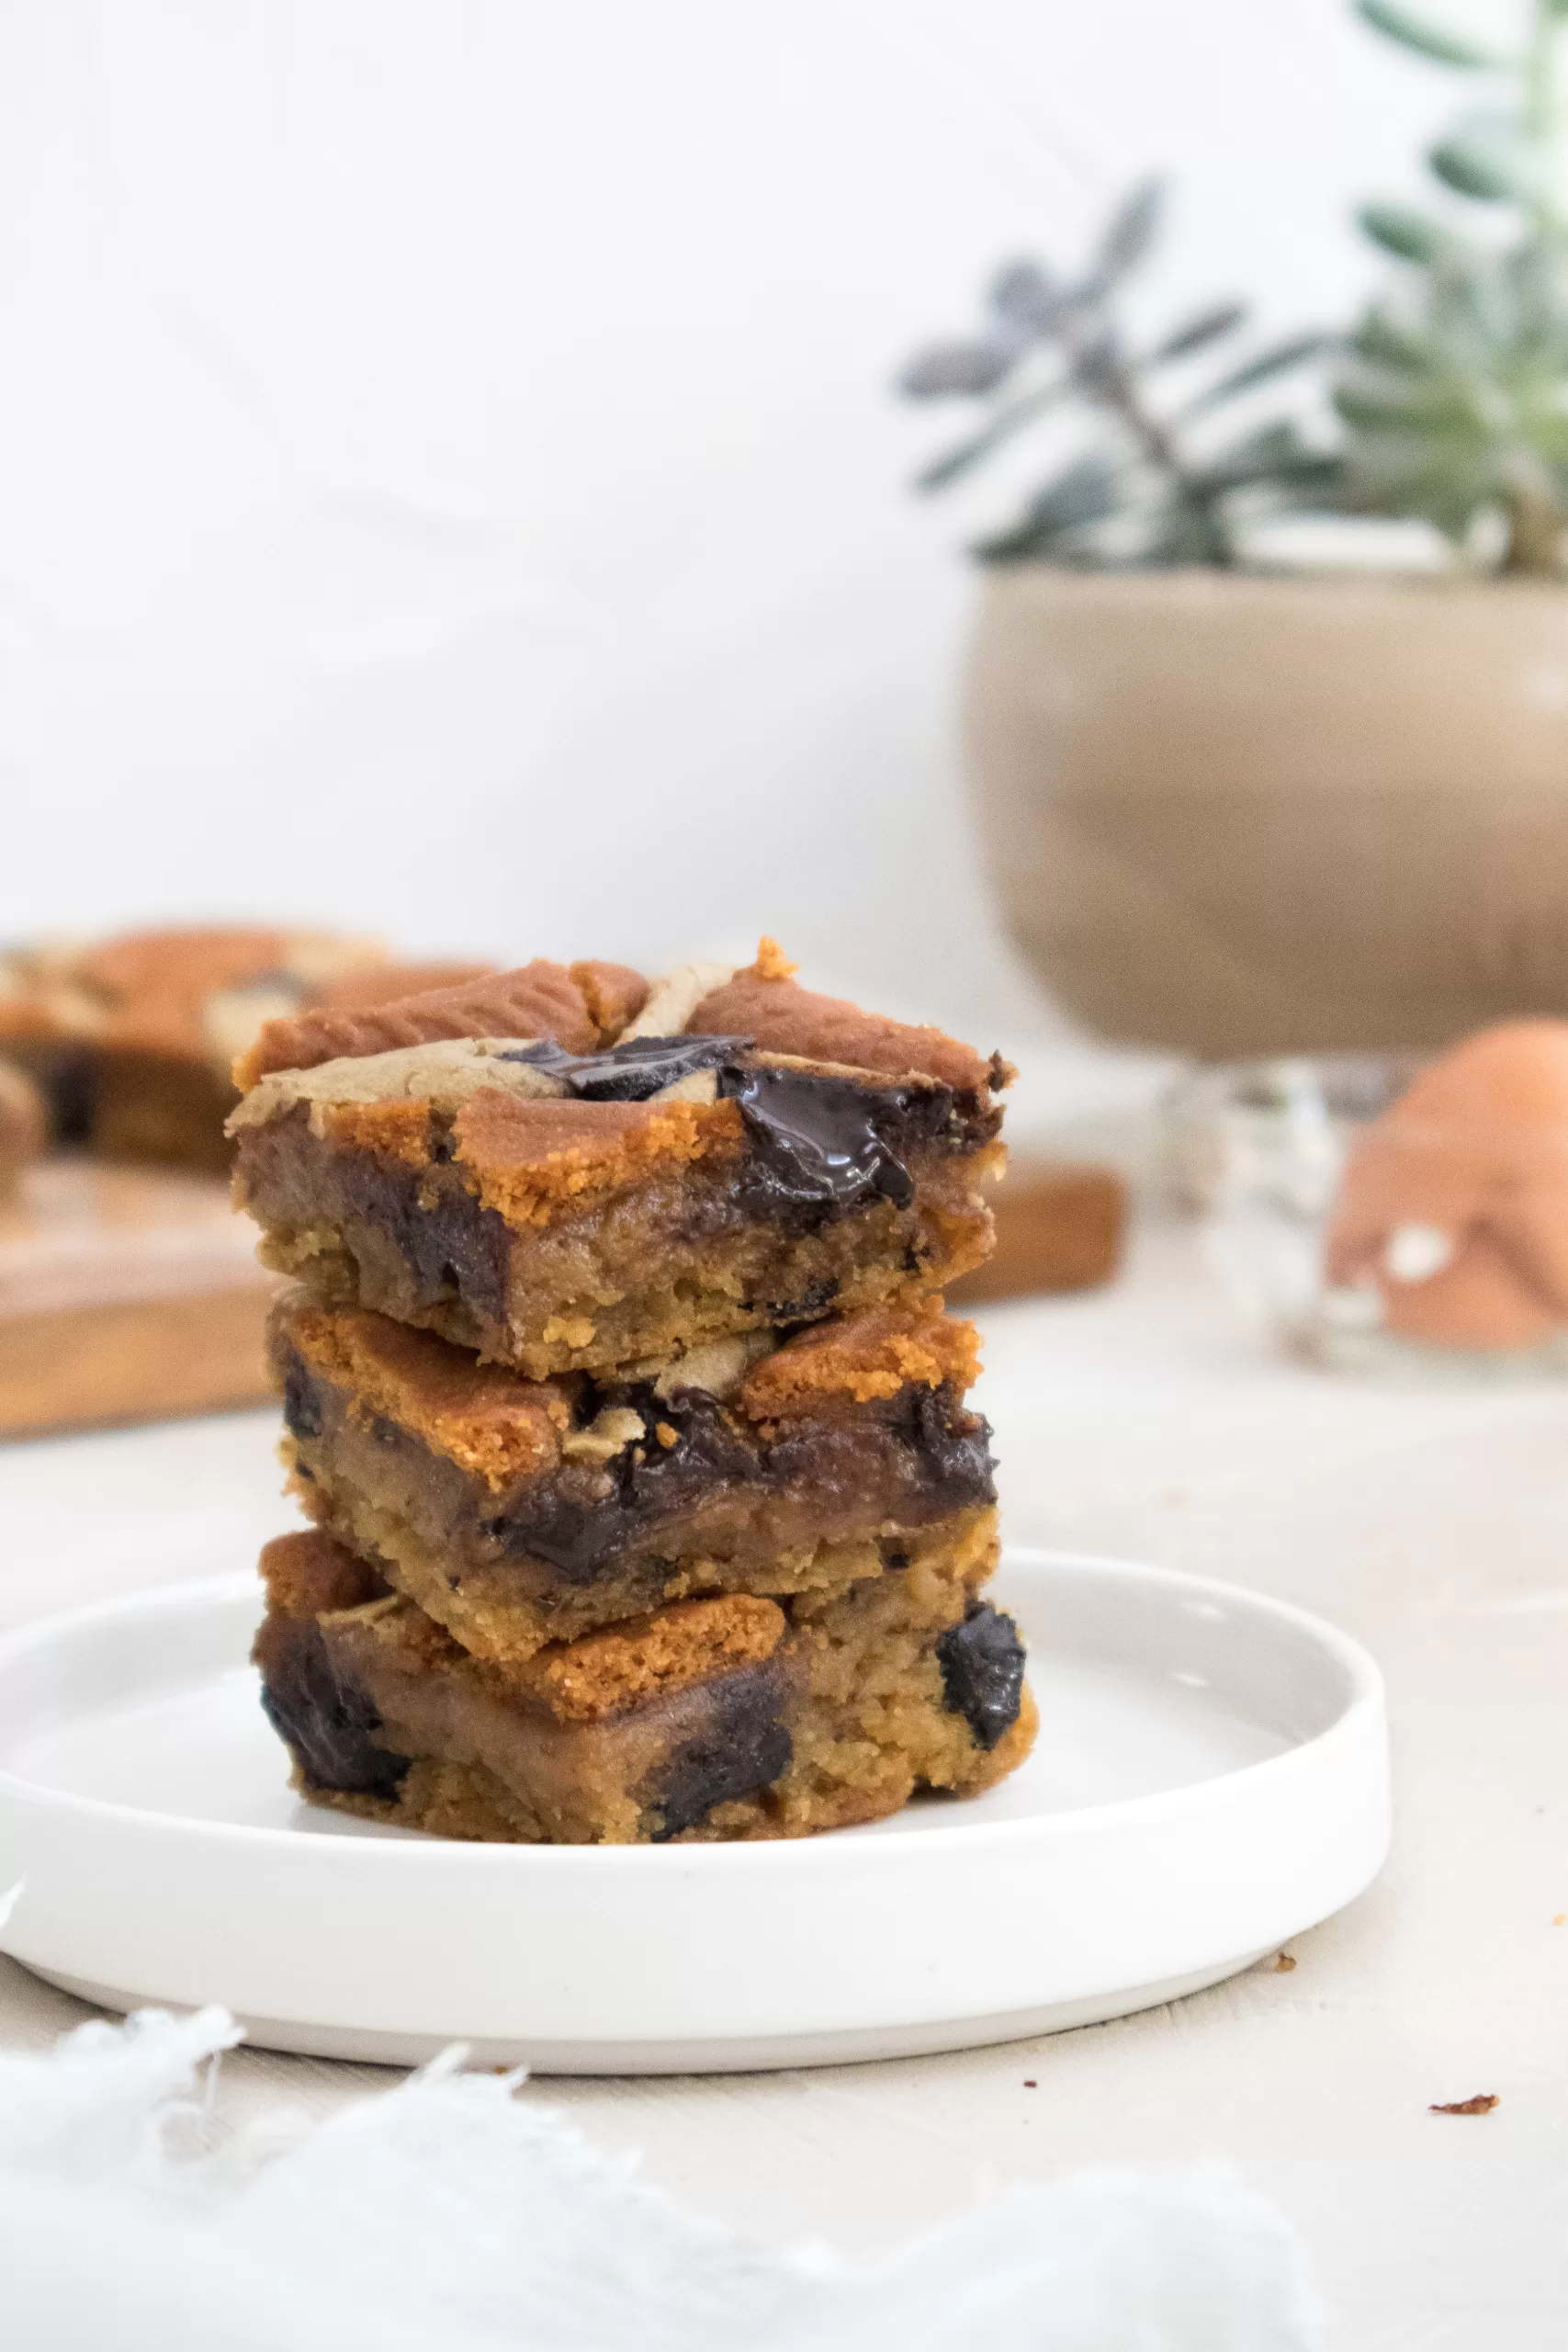
WHY YOU’LL LOVE THESE COOKIE BUTTER BLONDIES
- The batter comes together quickly and the blondies are ready in under an hour.
- Super delicious but so easy and quick to make!
- They have the perfect fudgy, dense, and chewy blondie texture.
- A combo of biscoff spread and chocolate chunks gives these blondies the best flavor and texture.
INGREDIENTS NEEDED & NOTES
Lotus biscoff spread – The star of the show and main flavor component! This recipe uses the creamy spread, but the crunchy spread works too.
Lotus biscoff cookies – This recipe adds some biscoff cookies on top of the batter for a nice bit of extra crunchy texture to the bars, but this is totally optional!
Chocolate – I use dark chocolate, 70% cacao. You can also use semi-sweet or 60% dark chocolate, but I would not suggest using milk chocolate, it’s too sweet.
Vanilla – A little bit of vanilla extract to enhance the flavor.
Sugar – You’ll need granulated sugar and brown sugar to make these cookie butter blondies. I prefer to use dark brown sugar for a better depth of flavor, but light brown sugar works too.
Salt – This balances out the sweetness and adds more flavor.
Butter – For flavor and texture! You can use either salted or unsalted butter. I prefer unsalted butter because I don’t want my buns to taste too salty. If you use salted butter, I recommend skipping the salt.
Eggs – Your eggs should be at room temperature to help make it easier to combine. If you forget to take them out of the fridge ahead of time, then pop the eggs in warm water for ten minutes. Also, make sure you’re using large eggs!
Flour – You’ll just need all-purpose flour and be sure to measure this correctly!
Leavening agent – You’ll need baking powder to help these blondies rise a little, so they have a nice texture and crumb to your finished blondies.
BAKING TOOLS & EQUIPMENT YOU’LL NEED
(Check my favorite baking tools and equipment here!)
- Large mixing bowl
- Electric mixer or a whisk
- Rubber spatula
- 8-inch square baking pan
- Parchment paper
- Kitchen scale or measuring cups and spoons
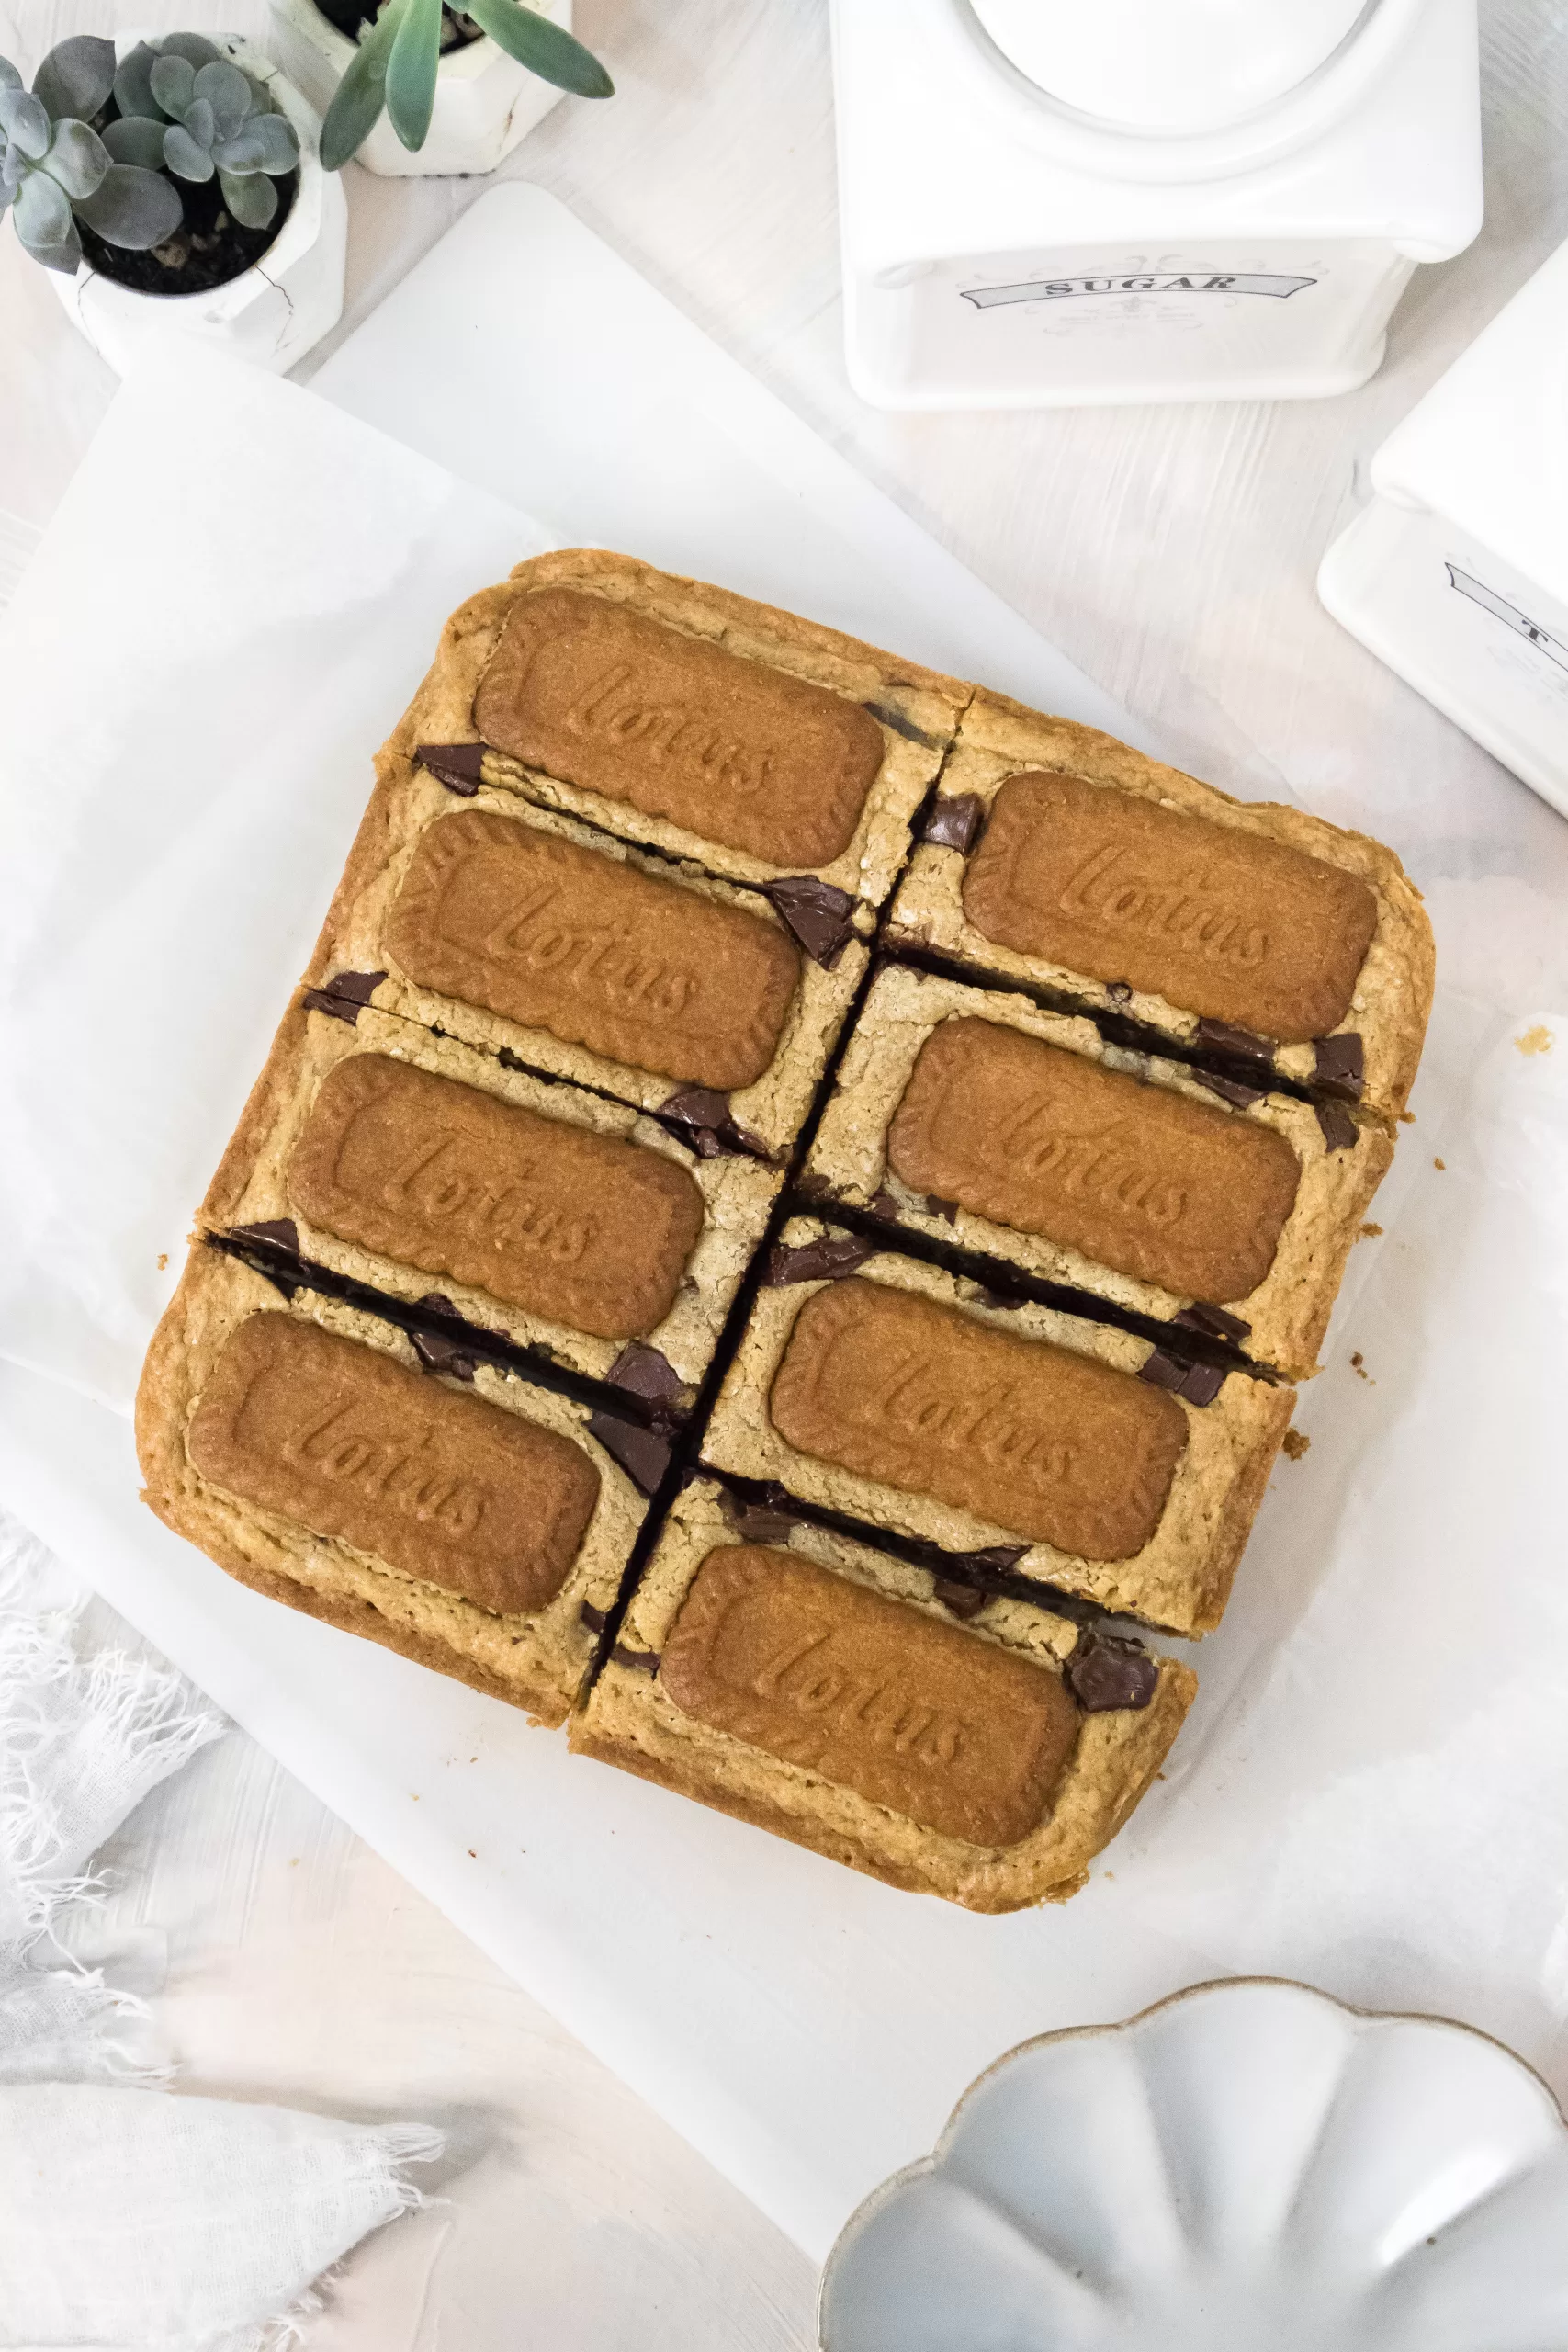
STEP-BY-STEP INSTRUCTIONS TO MAKE THESE COOKIE BUTTER BLONDIES
(Be sure to check the recipe card below for the full ingredients list & instructions)
Preheat the oven to 350°F. Line an 8-inch square baking pan with parchment paper, and let the excess hang over the sides to form a sling, so you can easily lift the blondie. In a medium bowl, combine and sift together the all-purpose flour, baking powder, and salt. Set aside.
In the bowl of your stand mixer or a large mixing bowl, beat the melted unsalted butter, melted biscoff spread, granulated sugar, and brown sugar at medium speed for about 3 minutes until it is well combined. Then, gradually add in the eggs and vanilla extract. Beat until well combined. Lower the mixer speed to medium-low speed and gradually add all the dry ingredients (all-purpose flour, baking powder, and salt) just until combined and no clumps of flour remain. Remove the bowl from the mixer, then fold in the chocolate chunks by using a rubber spatula.
Pour the blondie batter into the prepared baking pan, spread evenly, and top with biscoff cookies. Bake for about 25 minutes or until the edges are firm and golden. The middle will still be slightly wobbly, but they will continue to cook and set as they cool! Cool in the pan for at least 15 minutes, then transfer to a cooling rack and let it cool completely. Once the blondies are cool, cut into 8 squares or 16 squares for a smaller portion, and enjoy!
TIPS FOR MAKING THE BEST COOKIE BUTTER BLONDIES
- Don’t over-mix the batter. When adding in the dry ingredients, only mix or fold the mixture until no more flour is visible.
- Do not over-bake the blondies. If you want the texture extra gooey, bake them for 3 minutes less than the recipe suggests. The edges should be set, but when you stick the center with a toothpick, the batter will stick to the toothpick a little. The blondies will continue to cook as they cool so it’s okay if they’re a little gooey in the middle when you take them out!
- When measuring the flour, make sure to spoon and level the flour into your measuring cup. Do not scoop and pack the flour. By doing this, you will yield too much flour and make the batter dry. 1 cup flour = 125 grams.
- Use a kitchen scale. Baking with a kitchen scale is so much more accurate than cup measurements.
- You can definitely make blondies by simply mixing all the ingredients together in a bowl, but if you want that glossy texture on top of your blondies, you need to whisk the sugars and eggs together for about 3 minutes.
HERE’S HOW TO SERVE AND STORE THE LEFTOVERS COOKIE BUTTER BLONDIES
I highly recommend enjoying these blondies fresh, warm right out of the oven, and slightly underbaked so that the center is extra gooey.
If you have leftovers or you want to keep these blondies for later, cover them tightly with plastic wrap and store it in the fridge for up to 5 days.
You can also freeze this skillet cookie! I recommend cutting it into individual slices. Wrap each piece with layers of plastic wrap to prevent it from drying out, and place it in a freezer-safe container. It will last in the freezer for up to 3 months.
Cookie Butter Blondies
Thick, fudgy, chewy, and irresistible! These cookie butter (biscoff) blondies are easy to make and ready to devour in under 1 hour. I'm telling you these are the best blondies!
Ingredients
- 218g (1+3/4 cups, spoon and level method) all-purpose flour
- 1 teaspoon baking powder
- 1/4 teaspoon salt
- 151g (1+1/3 sticks) unsalted butter, melted
- 160g (2/3 cup) biscoff spread, melted
- 100g (1/2 cup) granulated sugar
- 110g (1/2 cup) brown sugar
- 1 teaspoon vanilla extract
- 2 large eggs
- 100g (3.5 oz) dark chocolate, chopped
- Biscoff cookies, optional
Instructions
Preheat the oven to 350°F. Line an 8-inch square baking pan with parchment paper, and let the excess hang over the sides to form a sling, so you can easily lift the blondie.
In a medium bowl, combine and sift together the all-purpose flour, baking powder, and salt. Set aside.
In the bowl of your stand mixer or a large mixing bowl, beat the melted unsalted butter, melted biscoff spread, granulated sugar, and brown sugar at medium speed for about 3 minutes until it is well combined. Then, gradually add in the eggs and vanilla extract. Beat until well combined.
Lower the mixer speed to medium-low speed and gradually add all the dry ingredients (all-purpose flour, baking powder, and salt) just until combined and no clumps of flour remain. Remove the bowl from the mixer, then fold in the chocolate chunks by using a rubber spatula.
Pour the blondie batter into the prepared baking pan, spread evenly, and top with biscoff cookies. Bake for about 25 minutes or until the edges are firm and golden. The middle will still be slightly wobbly, but they will continue to cook and set as they cool!
Cool in the pan for at least 15 minutes, then transfer to a cooling rack and let it cool completely. Once the blondies are cool, cut into 8 squares or 16 squares for a smaller portion, and enjoy!
♡♡♡
If you try this recipe, I’d love to hear what you think! Send me a message or write a comment below.
Also, be sure to snap a picture and tag me on your social media posts with #thejobaker
Happy Baking!



Leave a Reply